
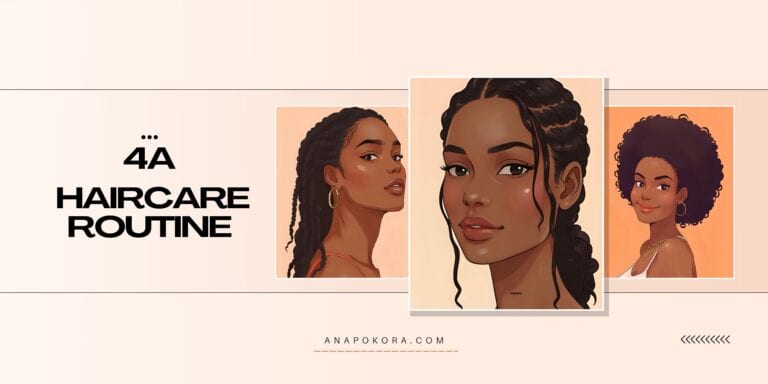
Beginner’s Guide to Curly Hair Types and Porosity
Before we dive into curl patterns and porosity, it’s important to know that your hair isn’t defined by one single category. It’s a mix of texture, thickness, porosity, and even how it reacts to climate or products.
Many curly-haired folks struggle because they try to follow routines that aren’t actually made for their hair type. If you’ve ever felt like a product works for everyone but you it’s probably because your curls need something different.
Understanding the why behind your hair’s behavior is the first step toward building a routine that finally works. Let’s start with the basics.
The Basics of Curl Patterns and Hair Texture
Every curl is different and that’s what makes textured hair so beautiful and complicated. Curl patterns are typically categorized into types 2 (wavy), 3 (curly), and 4 (coily), each with subtypes like 3a or 4b that reflect the shape and tightness of your curl.
But here’s the catch: most people have more than one curl type on their head, so don’t stress about fitting into just one box.
Understanding your pattern helps you choose the right styling techniques and products but it’s not the full picture. Hair texture (fine, medium, or coarse) plays a huge role too. For example, a 3b curl on coarse hair might need richer creams, while that same curl on fine strands could be weighed down by heavy butters.
Tips to get started:
- Don’t rely solely on internet charts. Look at your hair when it’s freshly washed, product-free, and air-dried.
- If your curls loosen easily or don’t hold definition, your texture or porosity may be the real reason not your curl type.
- Try different routines on each section of your hair to understand its unique behavior.
The bottom line? Curl type is just one piece of the puzzle. Texture, porosity, density, and even your local weather all influence what your curls need. Start with observation, not obsession and remember, your curls don’t have to look like anyone else’s to be healthy or beautiful.
Styling Curly Hair: What Works and What Doesn’t
The YouTube curly hair world is full of creative tips and tutorials, but not every technique is meant for your curls. It’s easy to get caught up watching influencers with different textures and wonder why your results don’t match. You can absolutely learn from them but it’s important to filter advice through the lens of your own hair.
Personal Example: I once tried a Bantu knot-out inspired by someone with 2C/3A curls like mine… and it was a total flop. The shape was off, the definition was uneven, and my curls just didn’t cooperate. Turns out, I needed a completely different approach for my hair’s porosity and density.
Key Takeaway:
What works for someone else might not work for you and that doesn’t mean you’re doing it wrong. It might mean:
- Their hair is more moisturized or stretched beforehand.
- They used a different product combo that your curls didn’t agree with.
- Their environment (humidity, water quality, etc.) gave them an edge
Instead of copying every step, focus on the why behind their routine. Learn what your hair responds to, and adjust based on your texture, porosity, and environment. That’s how you go from frustrated copying to confident styling.
Understanding Your Hair’s Needs: How to Get Started
Before you invest in new products or routines, the best thing you can do is observe your hair in its most natural state product-free and air-dried. This is how curly hair specialists evaluate your curl pattern, porosity, damage, and shrinkage before a cut or treatment. No distractions. Just your hair doing what it naturally does.
When I first tried this, I was shocked by how dry my hair felt without product. That told me right away: my hair has low porosity and needs more moisture retention support. This kind of insight is priceless it’s the foundation for building a routine that actually works.
Three Easy Ways to Read What Your Hair is Telling You
- Check for Dry Spots: After drying with no product, feel around are some areas rougher or drier? These zones might need more hydration or sealing.
- Scan Your Curl Pattern: Notice if certain sections are looser or tighter. For many of us, curl types vary across the scalp, and that affects styling and product choices.
- Shrinkage Watch: Curly hair shrinks as it dries. Observing how much shrinkage occurs can help you decide whether dry cutting is best for your hair shape and overall health.
Understanding your hair’s behavior in its raw state helps you make smarter decisions from which products to buy, to how to style and care for each section differently. Your hair isn’t being difficult it’s just speaking its own language.
Choosing the Right Products: Trial and Error
Finding the perfect curly hair products can feel like a never-ending experiment. What works wonders for one curl type might leave another frizzy, weighed down, or greasy. To save your wallet (and your shelf space), here are some smart ways to test products without going overboard:
- Start Small: Go for sample packs or travel sizes before committing to a full-size bottle. This lets you test how your hair reacts without wasting money on something your curls might hate.
- Track Expiration Dates: Most hair products expire within 12 months of opening. Write the purchase date on the bottom of the container with a Sharpie so you can toss it before it causes buildup or irritation.
- Don’t Be a Product Hoarder: If it’s not working, let it go. Holding onto products “just in case” only clutters your routine and bathroom cabinet. Be ruthless, your curls deserve better.
Trying different products is part of the curly hair journey, but it doesn’t have to break the bank. With a little strategy and self-awareness, you’ll slowly build a go-to lineup that works for your texture, porosity, and needs.
The Impact of Hair Dye on Curls
Hair dye can completely shift your curl pattern, especially if you’re lightening your hair. When I went blonde, my curls stretched out, lost bounce, and looked looser than before. A diffuser helped a bit during styling, but the long-term heat and chemical damage left my hair limp and dry.
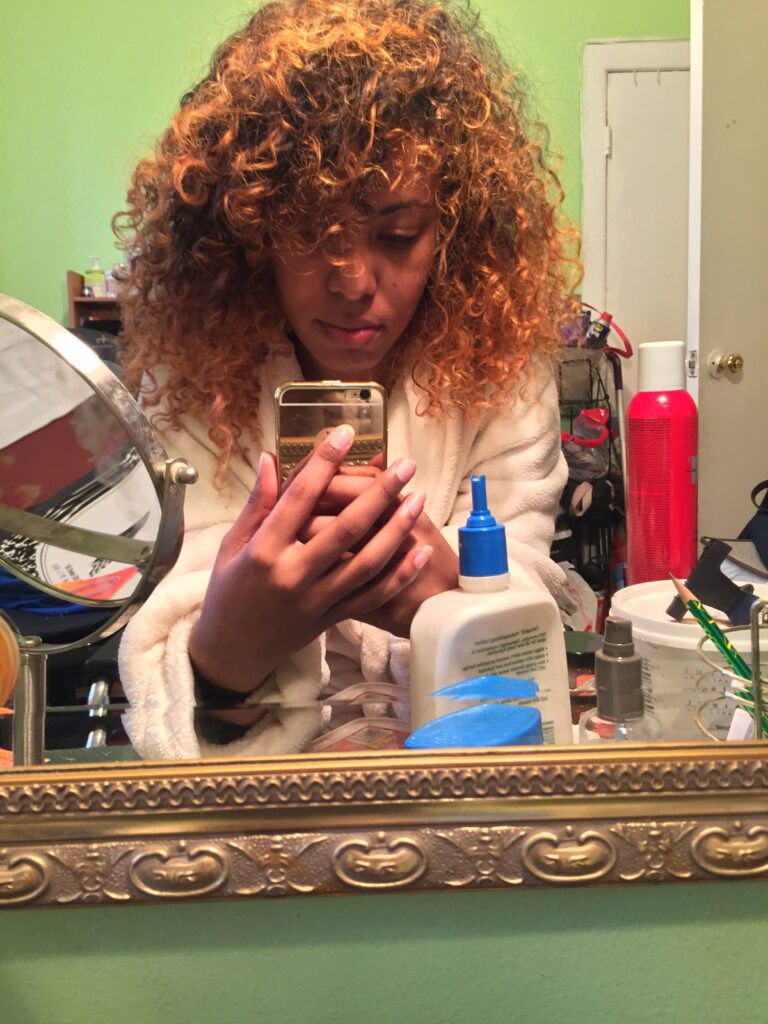

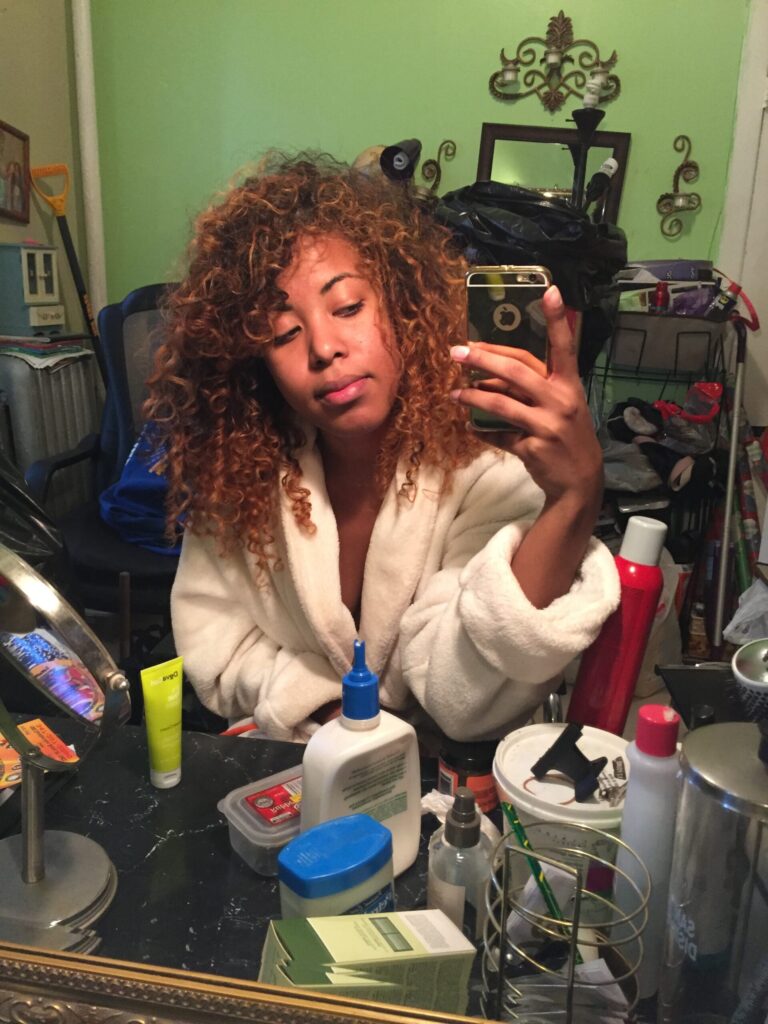
Later, when I dyed my hair back to black, I thought it would reverse the damage. It didn’t. The breakage, brittleness, and rough texture stuck around especially at the ends. My curls were still struggling to bounce back, no matter how moisturizing my routine was.
Key Lesson: Dyeing your hair, especially bleaching, can permanently alter your curls’ porosity and shape. Even if you switch back to your natural color, the damage doesn’t just disappear. You need targeted repair: think protein treatments, deep conditioners, and minimal heat use.
Repairing vs. Cutting: A Tough Decision
Once the damage from dyeing set in, I threw everything at my hair to stop the breakage:
- Moisture Treatments: I even invested in a hair steamer, hoping it would help, but the shedding didn’t stop.
- Protein Treatments: They slightly reduced the shedding but made my curls look thin and uneven.
I kept hoping a miracle product would fix it all. But deep down, I knew what needed to happen.
Eventually, I gave in and cut the damaged areas. The straight cut got rid of uneven layers left behind by years of bad habits and over-manipulation.


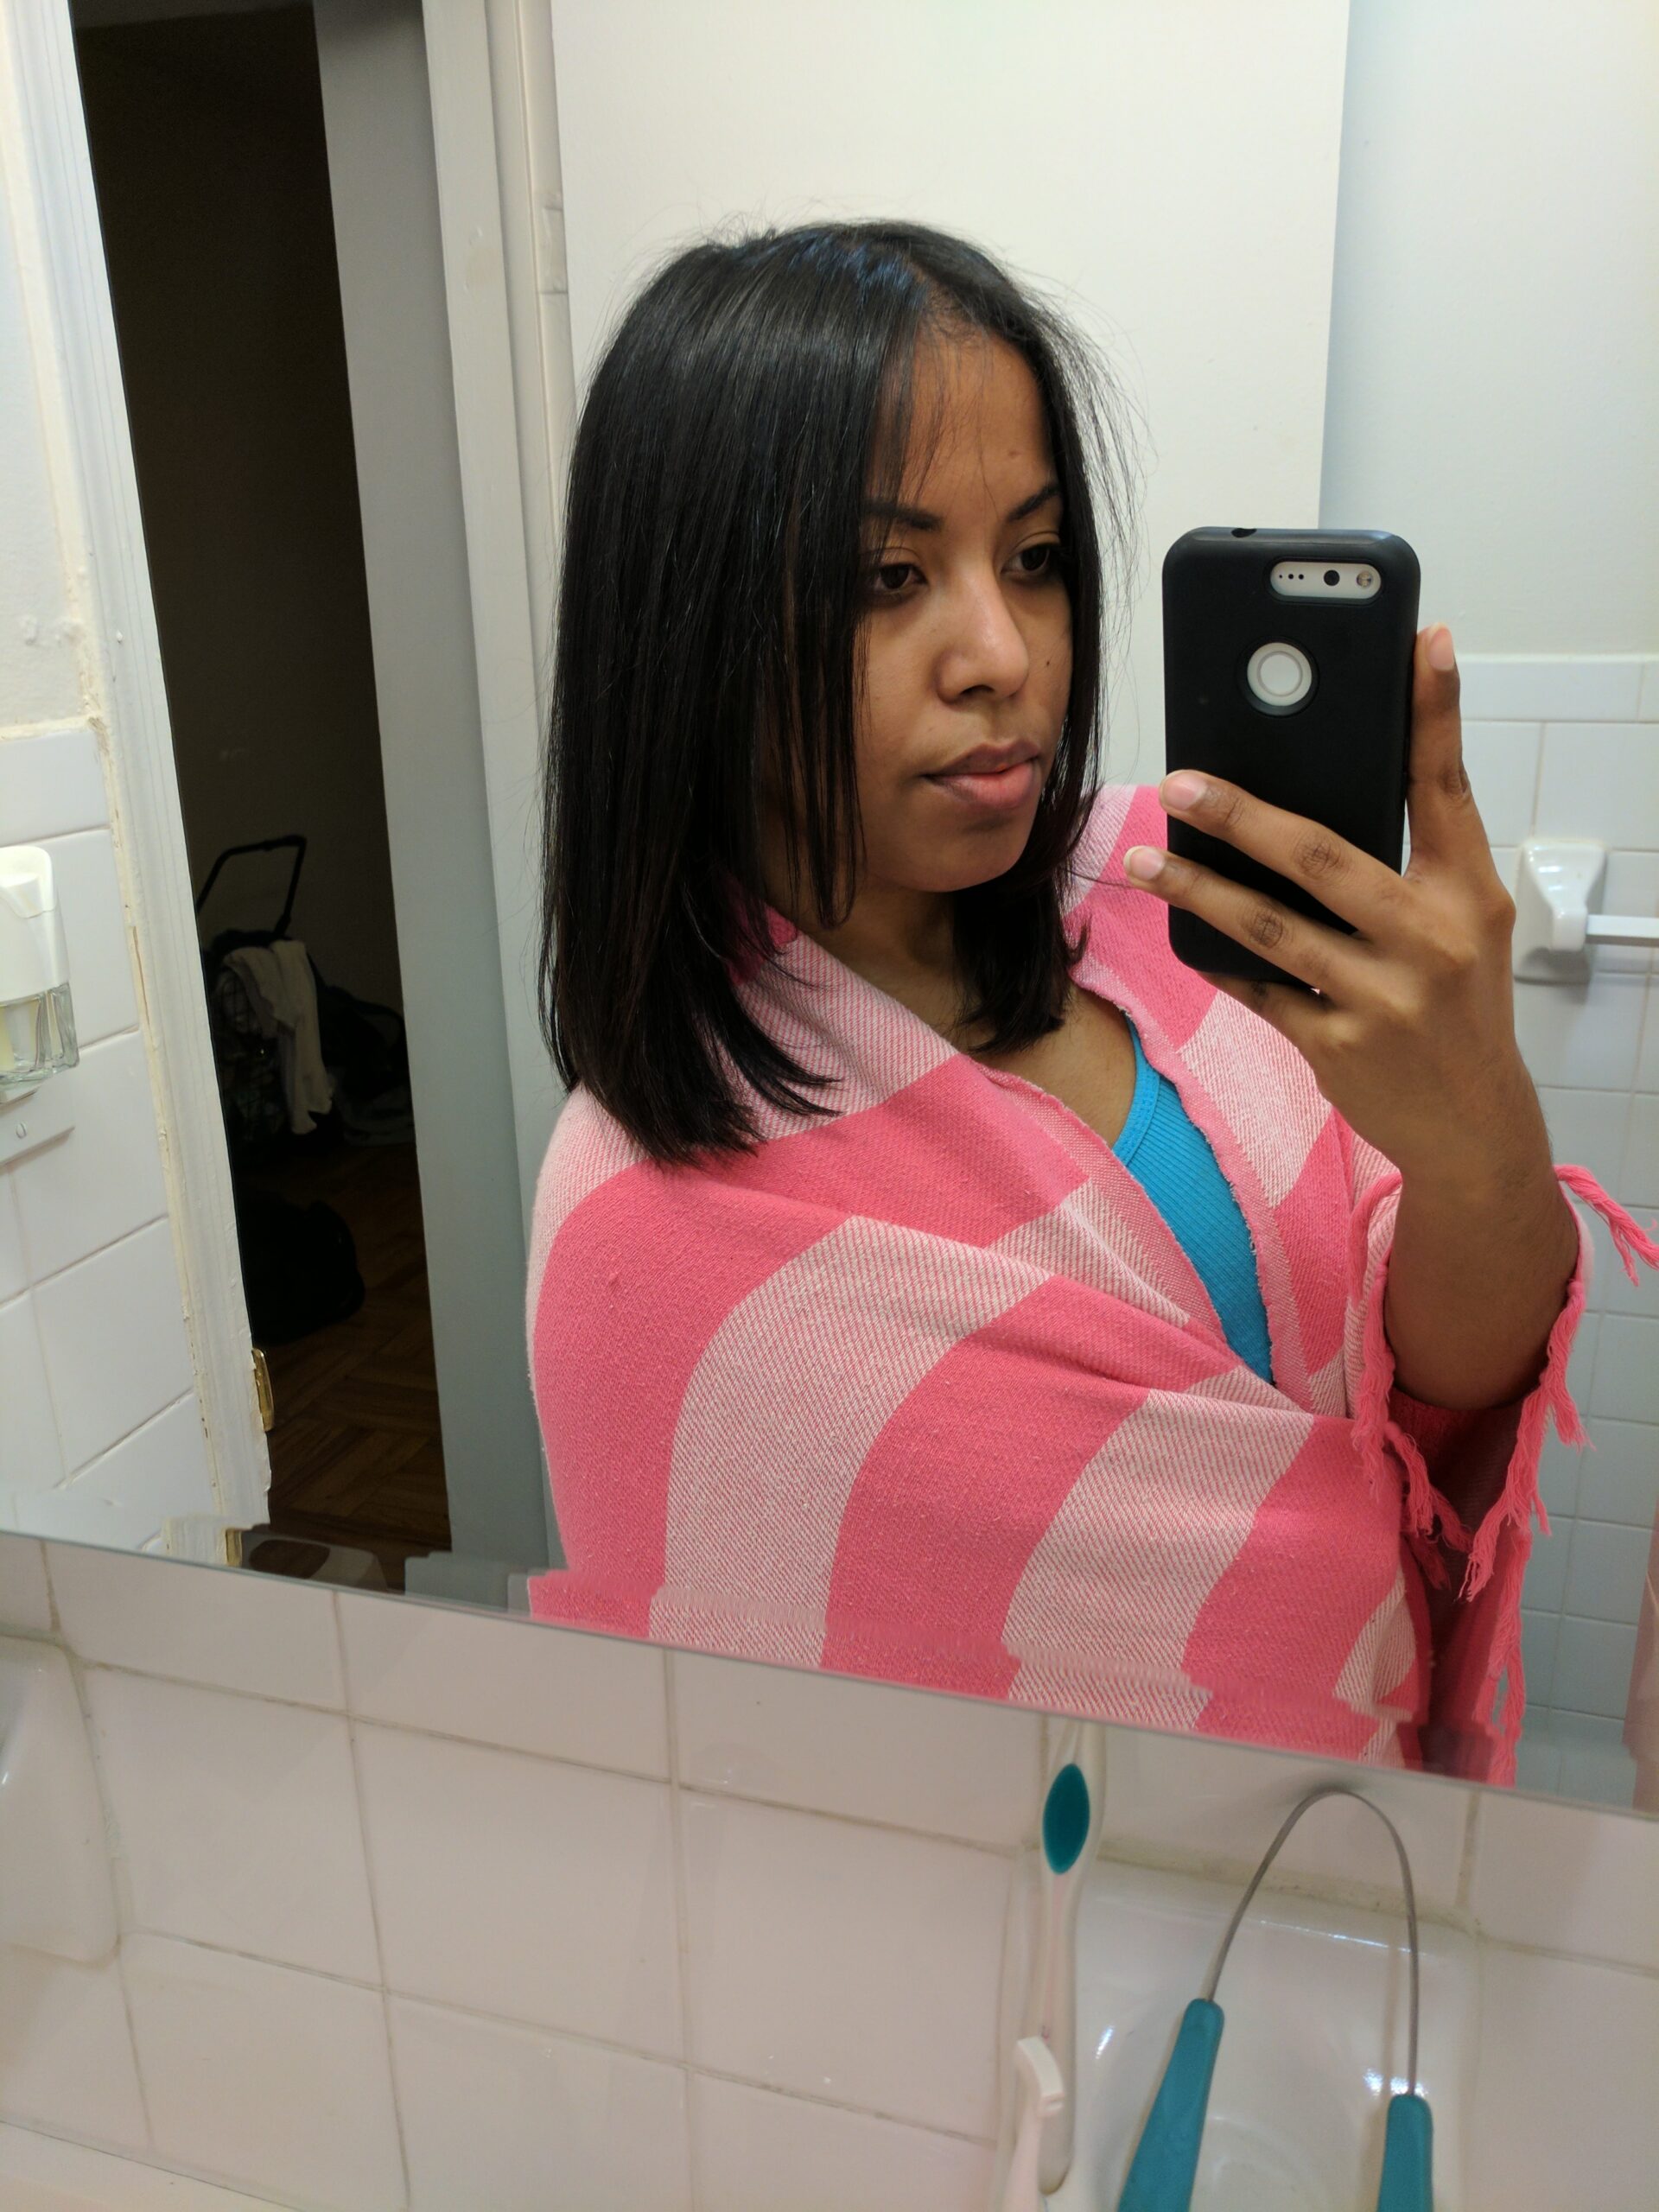


Hard but Worth It: Losing length wasn’t easy, but my hair immediately felt stronger, healthier, and way easier to manage.
Building a New Routine
Once I cut off the damage, it was time to focus on healing. To bring my curls back to life, I committed to a consistent routine:
- Protein Treatments: Twice a month to rebuild strength.
- Deep Conditioning: Twice a week to replenish moisture and improve elasticity.
- Henna Treatments: For long-lasting shine, softness, and a little extra protection.
This combo helped me reset my hair and actually start seeing results that lasted.
Aphogee Hair Strengthening Kit: My Go-To Treatment
The Aphogee Hair Strengthening Kit has been a total game changer in my repair routine. When my curls were at their weakest, this two-step treatment helped bring back strength and softness. Here’s how I use it:
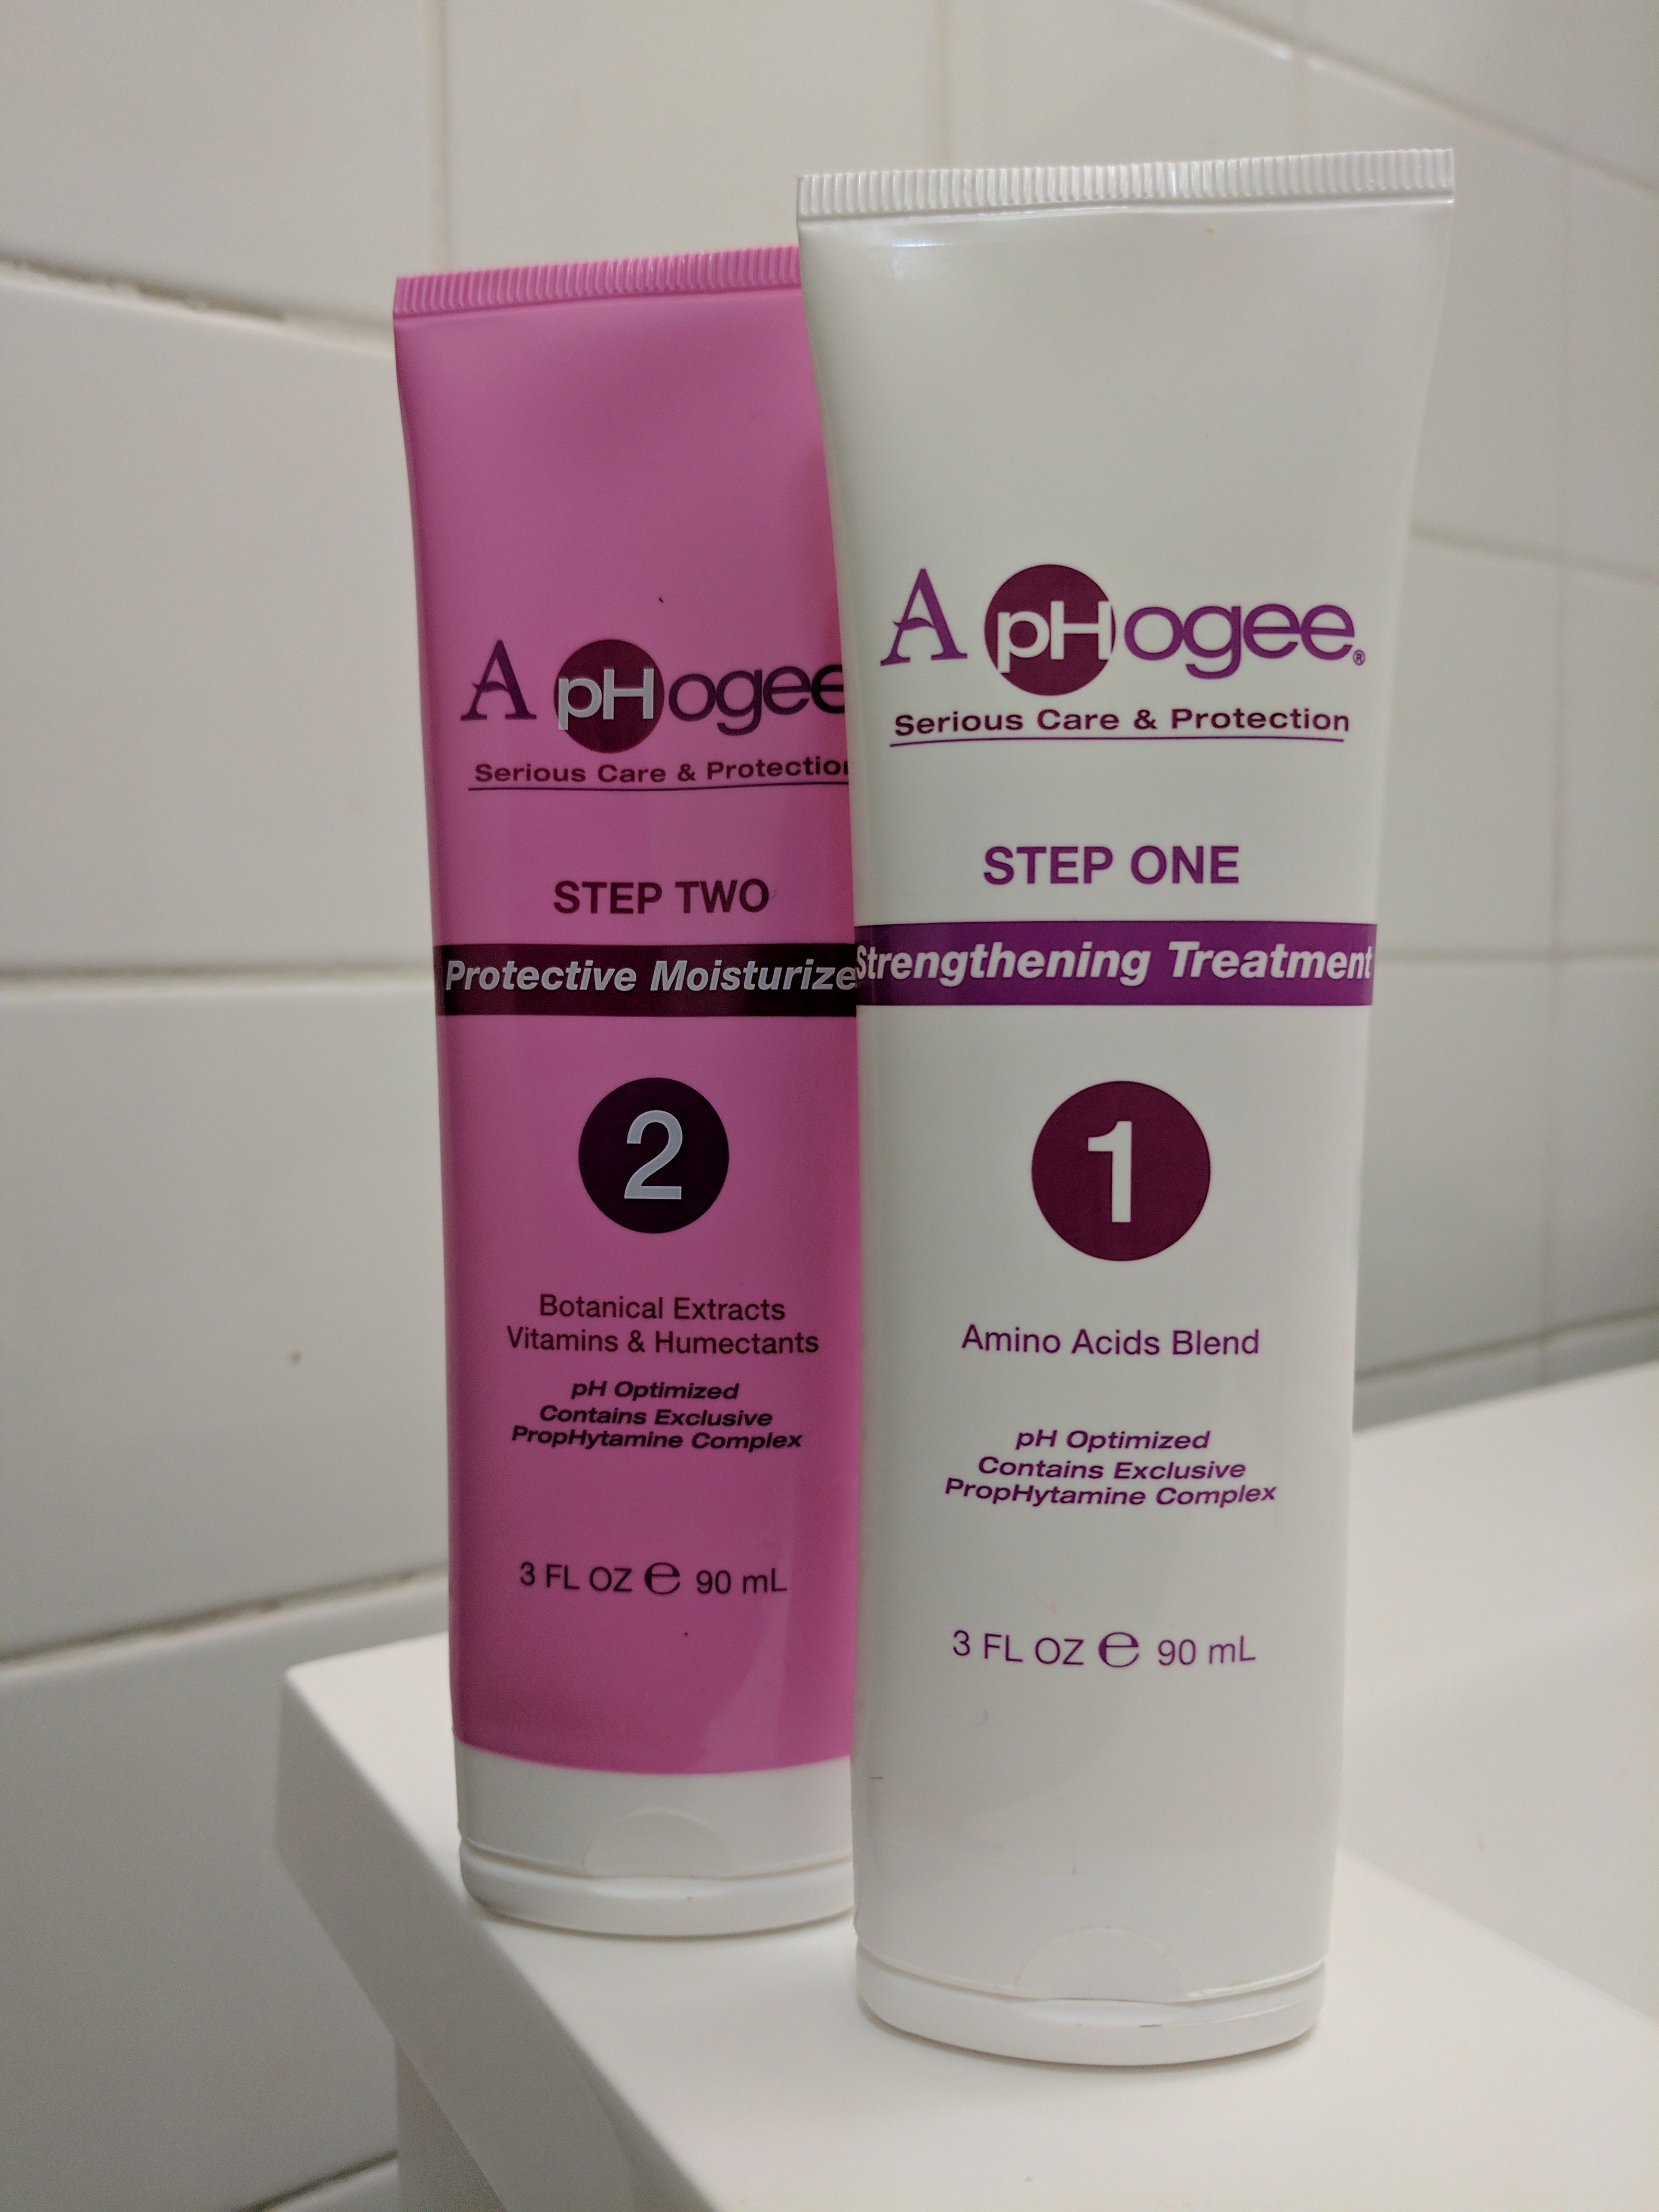
Step 1: Apply the Protein Treatment
- After shampooing and towel-drying, apply Step 1 evenly from roots to ends.
- Let it sit for 5–10 minutes (I usually leave it closer to 10), then rinse thoroughly with warm water.
Step 2: Restore Moisture
- Follow up with Step 2, applying it generously.
- Rinse with warm water to help it absorb, then finish with a cool rinse to lock in moisture.
Optional but Worth It: Deep Condition
I like to finish with a quick deep conditioner, usually Aussie 3-minute miracle, to leave my hair soft, hydrated, and less prone to breakage.
How I Style After Treatments
Once I’ve rinsed everything out, I style my curls as usual:
- I air-dry for a natural, frizz-free finish.
- Or I use a diffuser to boost volume and bring out more definition.
The results? My curls are finally bouncing back, stronger, softer, and more defined than they’ve been in a long time.
Before you go, here are the biggest lessons I’ve learned on this curly hair journey:
Key Takeaways for Understanding Your Hair
- Curly hair is unique—what works for others may not work for you.
- Identify your hair’s needs by observing moisture levels, curl patterns, and porosity.
- Be cautious with hair dye—it can permanently change your curl pattern.
- Invest in the right treatments to repair and strengthen your hair.

FAQs About Curly Hair Care
How can I determine my hair porosity?
Try the float test: place a strand of clean hair in a glass of water. If it sinks quickly, you have high porosity. If it floats, you have low porosity.
What is the best way to combat dryness?
Use deep conditioners and seal moisture with oils or leave-in creams designed for your hair type.
Why does my hair look uneven?
Curl patterns vary, so uneven cuts when hair is straight can cause this. Opt for dry cutting.
Can I repair damaged hair without cutting it?
Some damage can be mitigated with protein treatments and moisture, but severe damage often requires a trim.
How often should I deep condition curly hair?
Aim for at least once a week, or more if your hair is dehydrated.
Does hair dye permanently damage curls?
Dye can weaken curls, but you can restore much of your hair’s health with proper care and treatments.
Final Thoughts on Understanding Your Hair
Curly hair care takes time, trial, and patience. Understanding your hair’s needs can create a routine that helps your curls thrive.
What’s your biggest struggle with curly hair? Let’s chat in the comments! Your experiences could help someone else on their journey.
Need Help Hydrating Your Curls?
Grab my free Curly Hair Hydration Guide inside the Freebie Library—it breaks down easy tips and routines to get your curls soft, defined, and thriving. Click here to get instant access to the Freebie Library or Subscribe now and let’s embrace our curls together
Let’s Make Inbox Magic
Join my circle to unlock the Curly Mama Freebie Library, your all-access pass to printables, checklists, and resources made for busy moms and curly hair lovers.
Already subscribed? Click here to access the Freebie Library.
One Comment