How to Straighten Curly Hair Without Damage: Best Heat Protectants & Transitioning Routine
Product images are sourced from the official brand websites or authorized retailer listings for identification purposes. This post may contain affiliate links, which means I may earn a small commission if you purchase them at no extra cost to you. All opinions are my own. See my full disclosure here.
Curly hair is versatile; one day, you’re rocking your natural texture, the next you’re craving that sleek, straight look. But when you’re transitioning from damage or growing your curls back, the fear of ruining your progress is real.
Here’s the good news: you don’t have to choose. You can enjoy straight hair while still keeping your curls, but it requires a bit of strategy. Heat styling isn’t just about using the right heat protectant. It’s about prepping, protecting, and repairing with intention.
This guide breaks down how to safely use heat while transitioning, including how often to do it, how to prepare, which products to use, and how to ensure your curls bounce back stronger after every blowout.
How Heat Styling Affects Transitioning Hair
Transitioning hair has two textures: hydrated new growth and fragile, compromised ends. Adding heat without proper preparation risks breakage, frizz, or even permanent damage to your curl pattern.
Here’s how heat damage often shows up:
- Loss of elasticity: Curls stop springing back.
- Persistent frizz: Raised cuticles can’t retain moisture.
- Uneven texture: Some sections stay straight while others curl.
Too much heat weakens the protein bonds that give curls their shape, especially at the line of demarcation, where new growth meets old damage. The key isn’t cutting out heat entirely; it’s using it strategically.
How Often to Use Heat While Transitioning
The golden rule: every 4–6 weeks. That’s how long your hair needs to recover and rebuild strength between heat sessions.
Follow these non-negotiables:
- Deep condition before and after: Maintains elasticity and prevents dryness.
- No mid-week touch-ups: Reapplying heat causes more damage than the original session.
- Use silk or satin: Cotton pillowcases strip moisture and cause friction.
Pre-Heat Routine: Prep Your Curls for Straight Styling
Heat damage starts before styling. Proper prep builds a protective barrier around fragile strands, especially at the ends.
1. Deep Cleanse: Start with a Fresh Slate
Product buildup blocks treatments and prevents heat protectants from fully bonding. Always clarify before a heat session so products can work effectively.
Pro tip: Clarify 2–3 days before straightening so your hair can rebalance moisture before styling.
For more gentle clarifying options, explore my Best Natural Shampoos for Curly Hair Guide, where I review top formulas for every curl type.
2. Strengthen: Protein Treatment Before Heat
A lightweight treatment before heat helps rebuild bonds and reduce breakage.
Tip: Always do a protein treatment before switching back to curly, it helps your pattern “remember” its shape.
Want more options? Check out my full Deep Conditioning Guide for Curly Hair, where I break down the best treatments by curl type, porosity, and hair goals.
3. Hydrate & Smooth: Use Straight-Hair Formulas
Your goal now is slip, smoothness, and protection, not curl definition. Straight-hair formulas are typically lighter and more heat-resistant, which helps reduce frizz and prevent hair damage.
Best Leave-Ins & Primers:
CHI Silk Infusion
Best for: All hair types needing intense heat protection
Why: Protects up to 425°F while sealing the cuticle for silky, frizz-free results without weighing hair down.
Kenra Blow-Dry Spray
Best for: Medium to thick hair prone to frizz
Why: Speeds up drying time, smooths strands, and adds frizz resistance for a salon-quality finish that lasts.

Kérastase Fluidissime Spray
Best for: Fine to medium hair that reverts quickly in humidity
Why: Lightweight, anti-frizz formula that shields against heat and humidity while enhancing smoothness and shine.
Pro tip: Apply your heat protectant evenly from mid-length to ends. Rough-dry or air-dry to ~80% before using a brush or blow-dryer.
Best Heat Protectants for Curly & Natural Hair
The right heat protectant matters more than your flat iron. Too light, and hair fries. Too heavy, flat, and greasy. Select based on porosity and curl type for optimal results.
When heat-styling, invest in a high-quality formula. Cheaper sprays often lack the polymers and film-formers needed to truly shield curls from damage.
Low Porosity (2A–3B): Lightweight Sprays
Living Proof Restore Perfecting Spray
Best for: Low porosity curls prone to breakage or frizz
Why: Strengthens hair with heat-activated polymers, detangles easily, and keeps natural movement intact.
Oribe Royal Blowout Spray
Best for: Low porosity hair needing salon-level results
Why: Cuts drying time, smooths the cuticle, and leaves hair sleek, glossy, and protected from high heat.
Medium Porosity (3A–3C): Balanced Creams & Serums
Mizani Heat Screen Serum
Best for: Medium-textured curls prone to frizz
Why: Silicone-free formula adds slip, protects against heat damage, and enhances shine without heaviness.
Kérastase Nectar Thermique Primer
Best for: Medium to thick strands needing hydration and smoothness
Why: Deeply conditions, seals in moisture, and creates a frizz-free, silky finish under high heat.
High Porosity (3C–4C): Rich Oils & Sealants
Moroccanoil Treatment Original
Best for: High-porosity curls that need lightweight heat protection without added heaviness.
Why: Creates an even heat shield up to 450°F, reduces moisture loss during blowouts or silk presses, and leaves curls smoother and less frizzy without adding oil buildup.
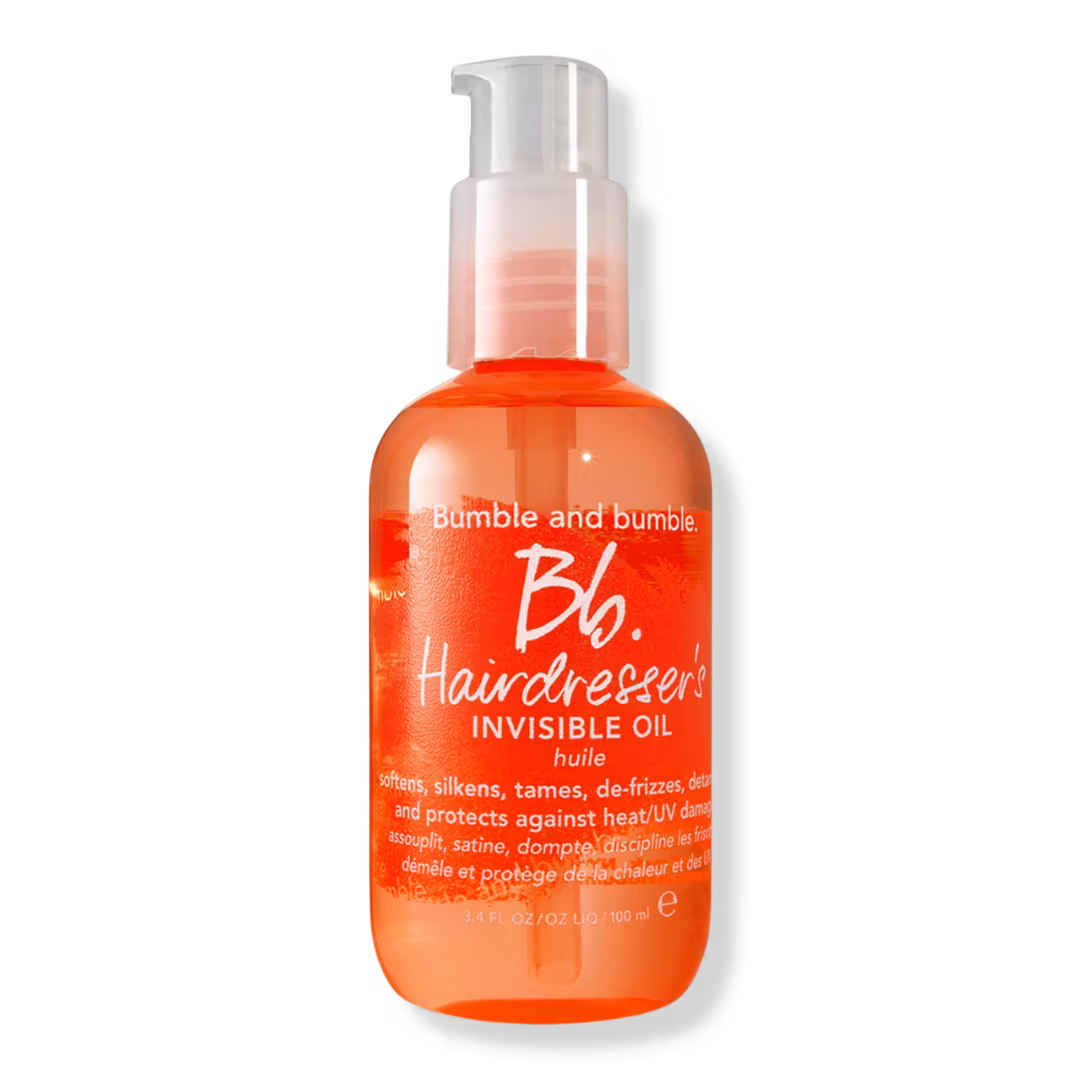
Bumble & Bumble Hairdresser’s Invisible Oil
Best for: Coily, high-porosity hair needing long-lasting protection
Why: Combines heat protection, humidity resistance, and frizz control in one lightweight formula, perfect for silk presses.
Pro tip: Layer a spray first for even coverage, then finish with a small amount of serum to lock in moisture.
Want to protect your curls from heat damage?
Grab my Heat Styling Survival Guide inside the Freebie Library, plus access to every curl care tracker and seasonal refresh guide.
Let’s Make Inbox Magic
Join my circle to unlock the Curly Mama Freebie Library, your all-access pass to printables, checklists, and resources made for busy moms and curly hair lovers.
Already subscribed? Click here to access the Freebie Library.
Step-by-Step Heat Styling Routine (Without Ruining Your Curls)
Treat heat styling as a process, not a one-day event. Here’s how to do it right:
Start with a clarifying shampoo and deep conditioner to remove buildup and restore elasticity. Heat “bakes in” whatever’s left on your hair. Follow with a lightweight leave-in or serum, then apply a heat protectant from root to tip.
Pro tip: Air-dry about 80% before blow-drying to reduce heat exposure.
Use a gentle stretching method, such as tension drying or a roller set. Comb attachments are fine for dense hair, but avoid multiple passes.
Work in small sections and choose a ceramic or titanium iron with adjustable temperature. Use one slow, steady pass (no clamping or repeated runs) to minimize damage.
Pro tip: Apply a drop of serum before ironing to enhance smoothness and shine.

Keep strands sleek and stretched with a wrap or pin curls. Sleep on a silk pillowcase to lock in moisture and reduce friction.
Pro tip: If frizz appears midweek, lightly mist with water and rewrap, rather than re-straightening.
Must-Have Tools for Curly Hair Styling
Even the best products won’t help if your tools are too hot or uneven. Here are the top picks for every budget:
Best Blow Dryers
Budget:
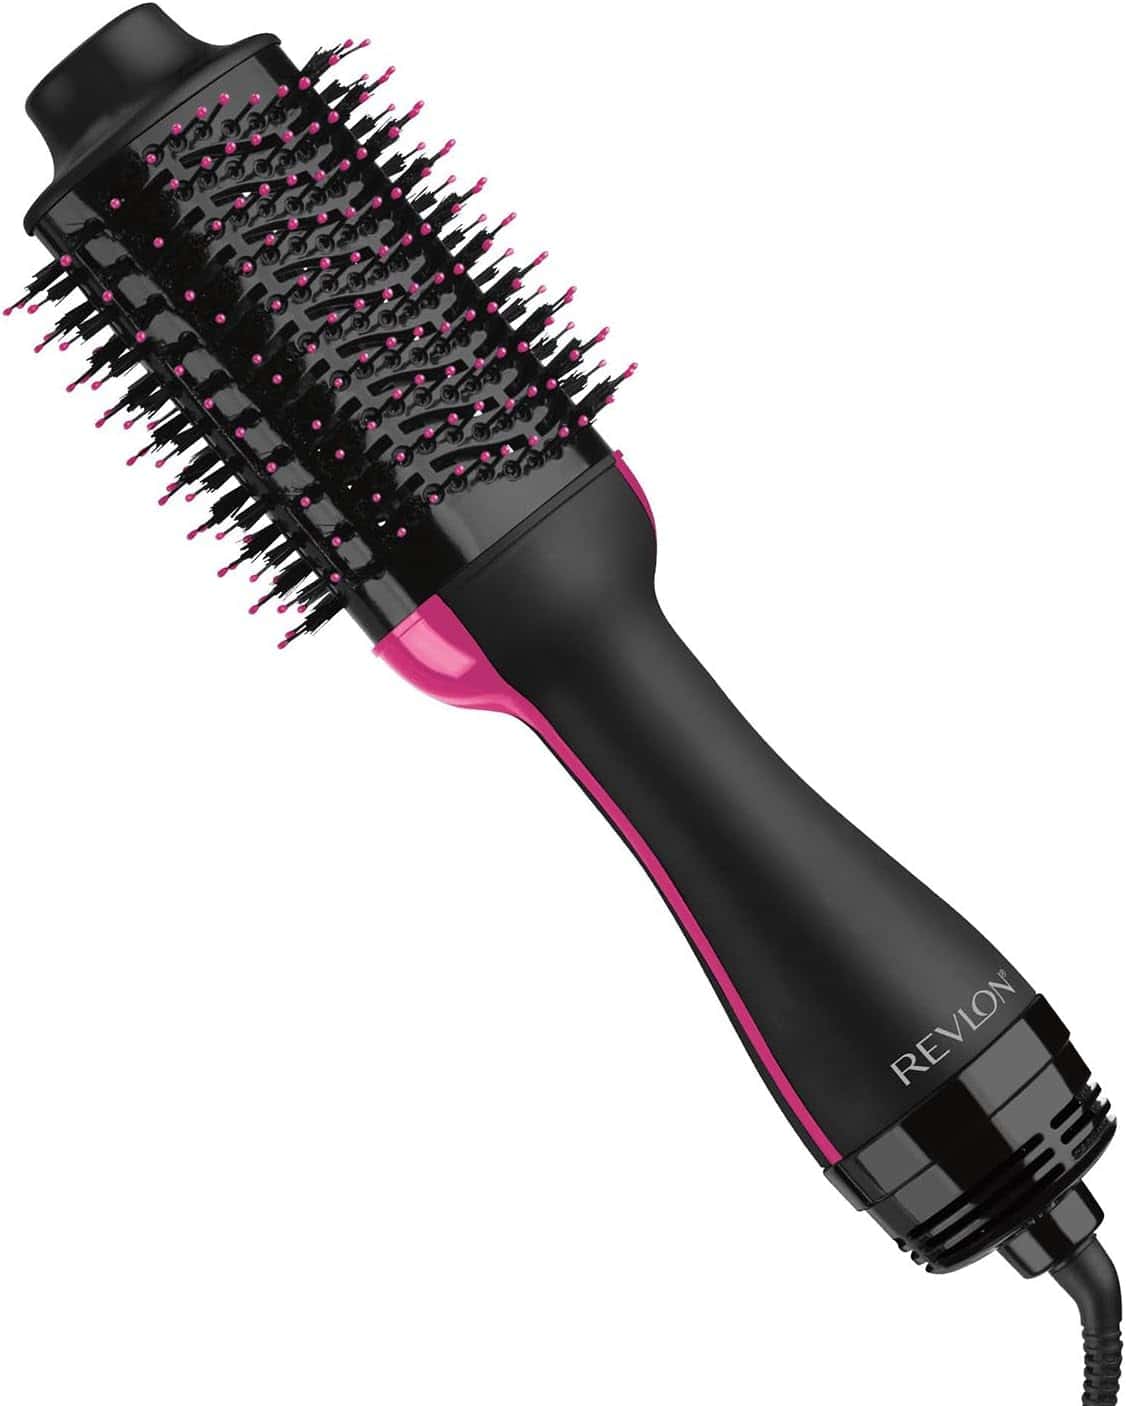
Revlon One-Step Volumizer
Best for: 2C–3B, medium-textured hair that needs fast, smooth blowouts.
Why: Combines a blow-dryer and smoothing brush in one to simplify tension blow-drying. It may be too strong for finer strands.
Salon:
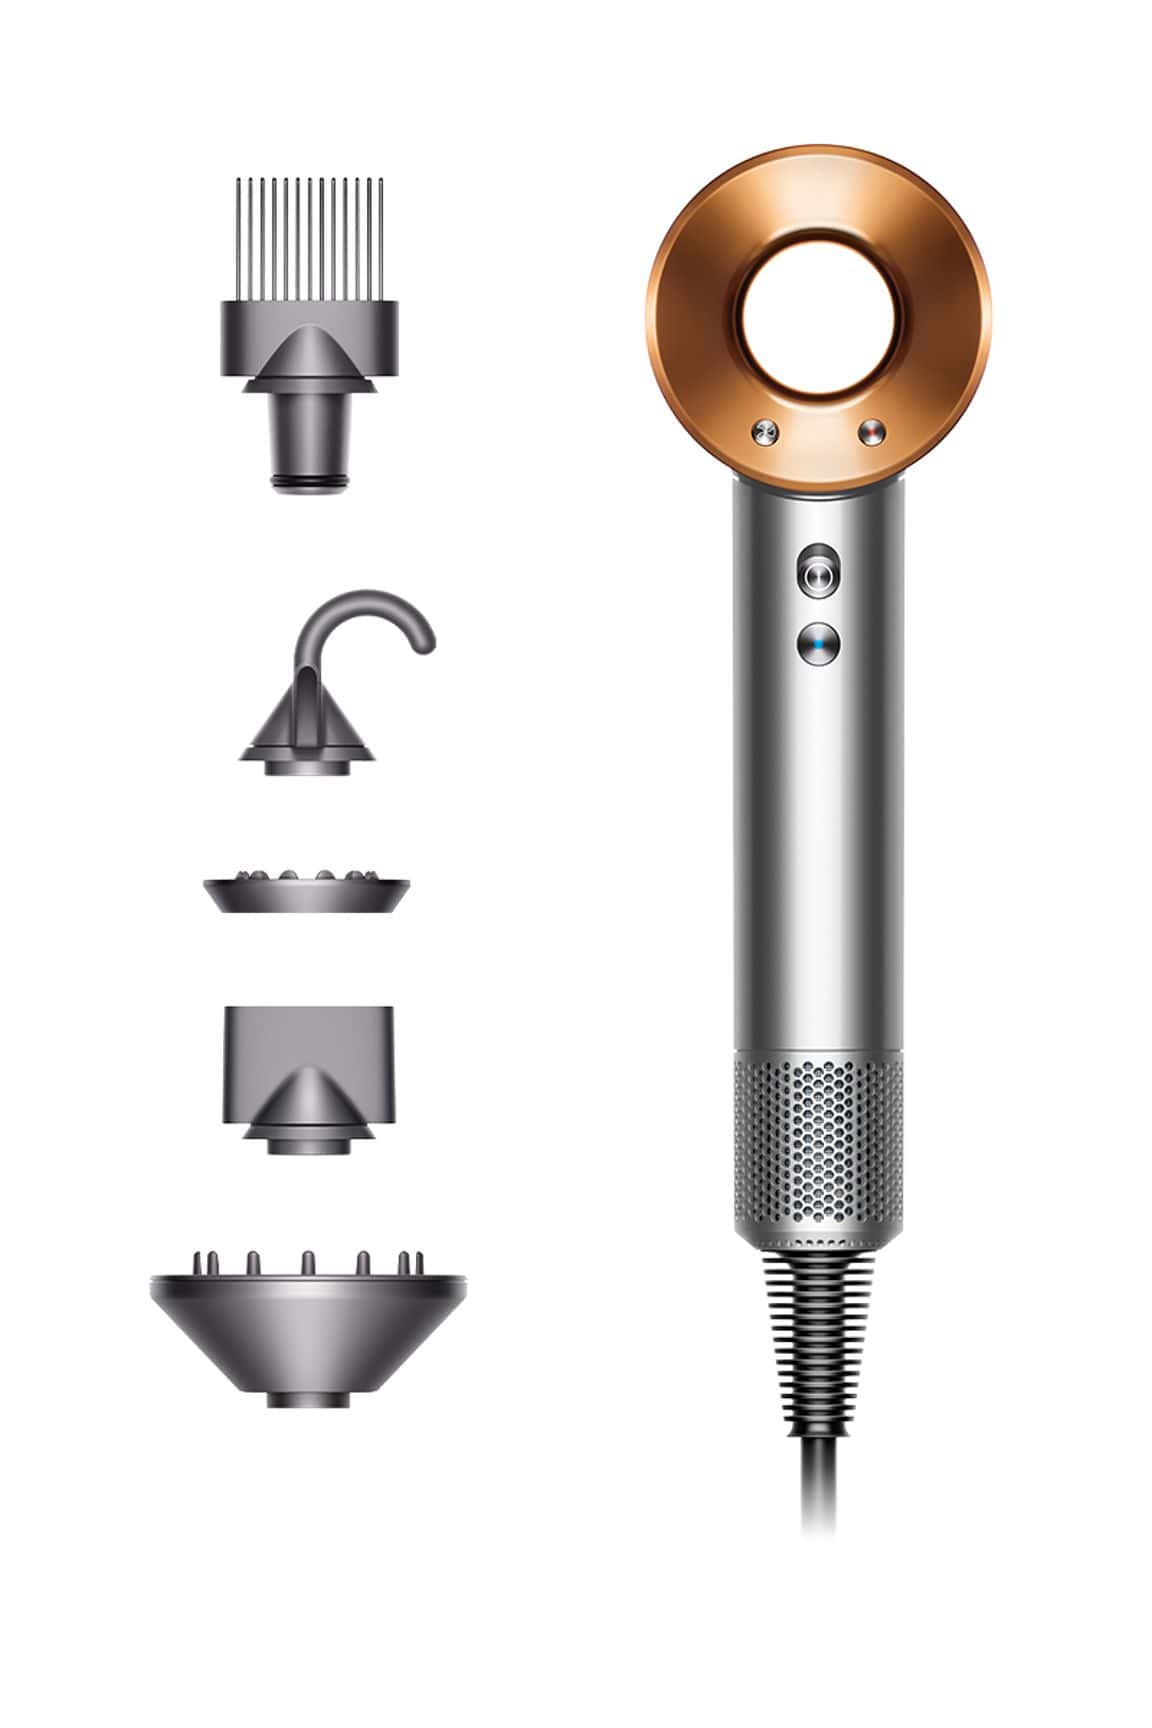
Dyson Supersonic
Best for: All curl types (especially 4A–4C) needing fast, gentle drying.
Why: Advanced temp control prevents heat damage while powerful airflow dries hair quickly, ideal for dense, coily textures that frizz easily.
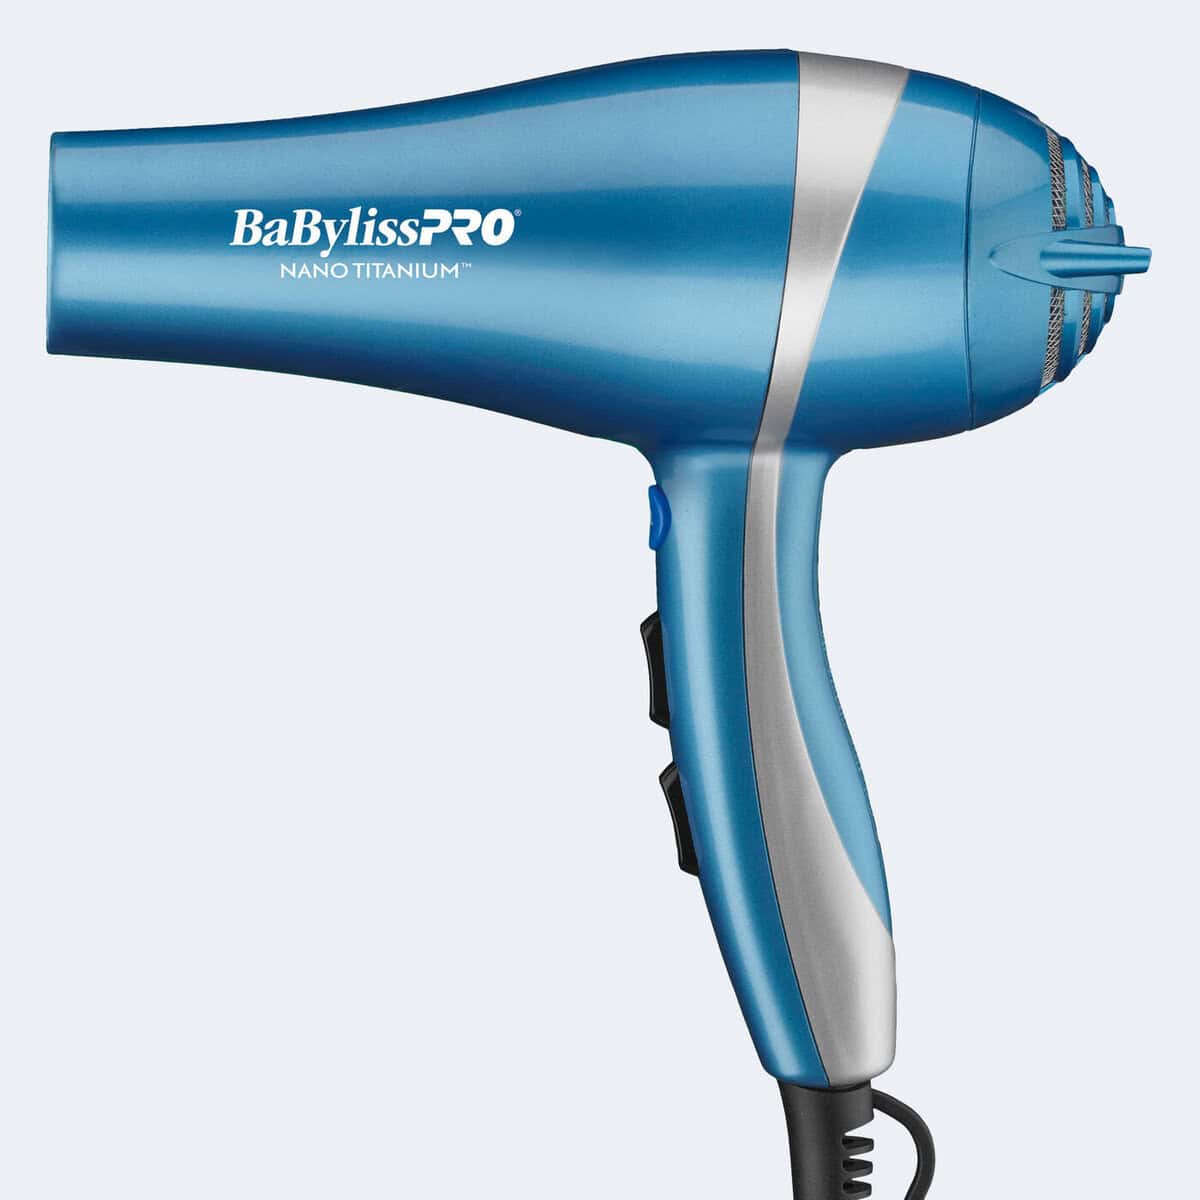
BaBylissPRO Nano Titanium
Best for: 3B–4C coarse or high-density hair needing salon-level results
Why: Ionic + titanium tech smooths frizz and stretches curls with less heat. Use a lower setting on finer strands to prevent over-drying.
Best Flat Irons
Budget:
Editor’s Pick: I personally use the Remington Shine Therapy Flat Iron and love how smooth it leaves my hair with minimal frizz, plus, I grabbed mine at Walmart for under $40. It’s proof you don’t need salon prices for great results.
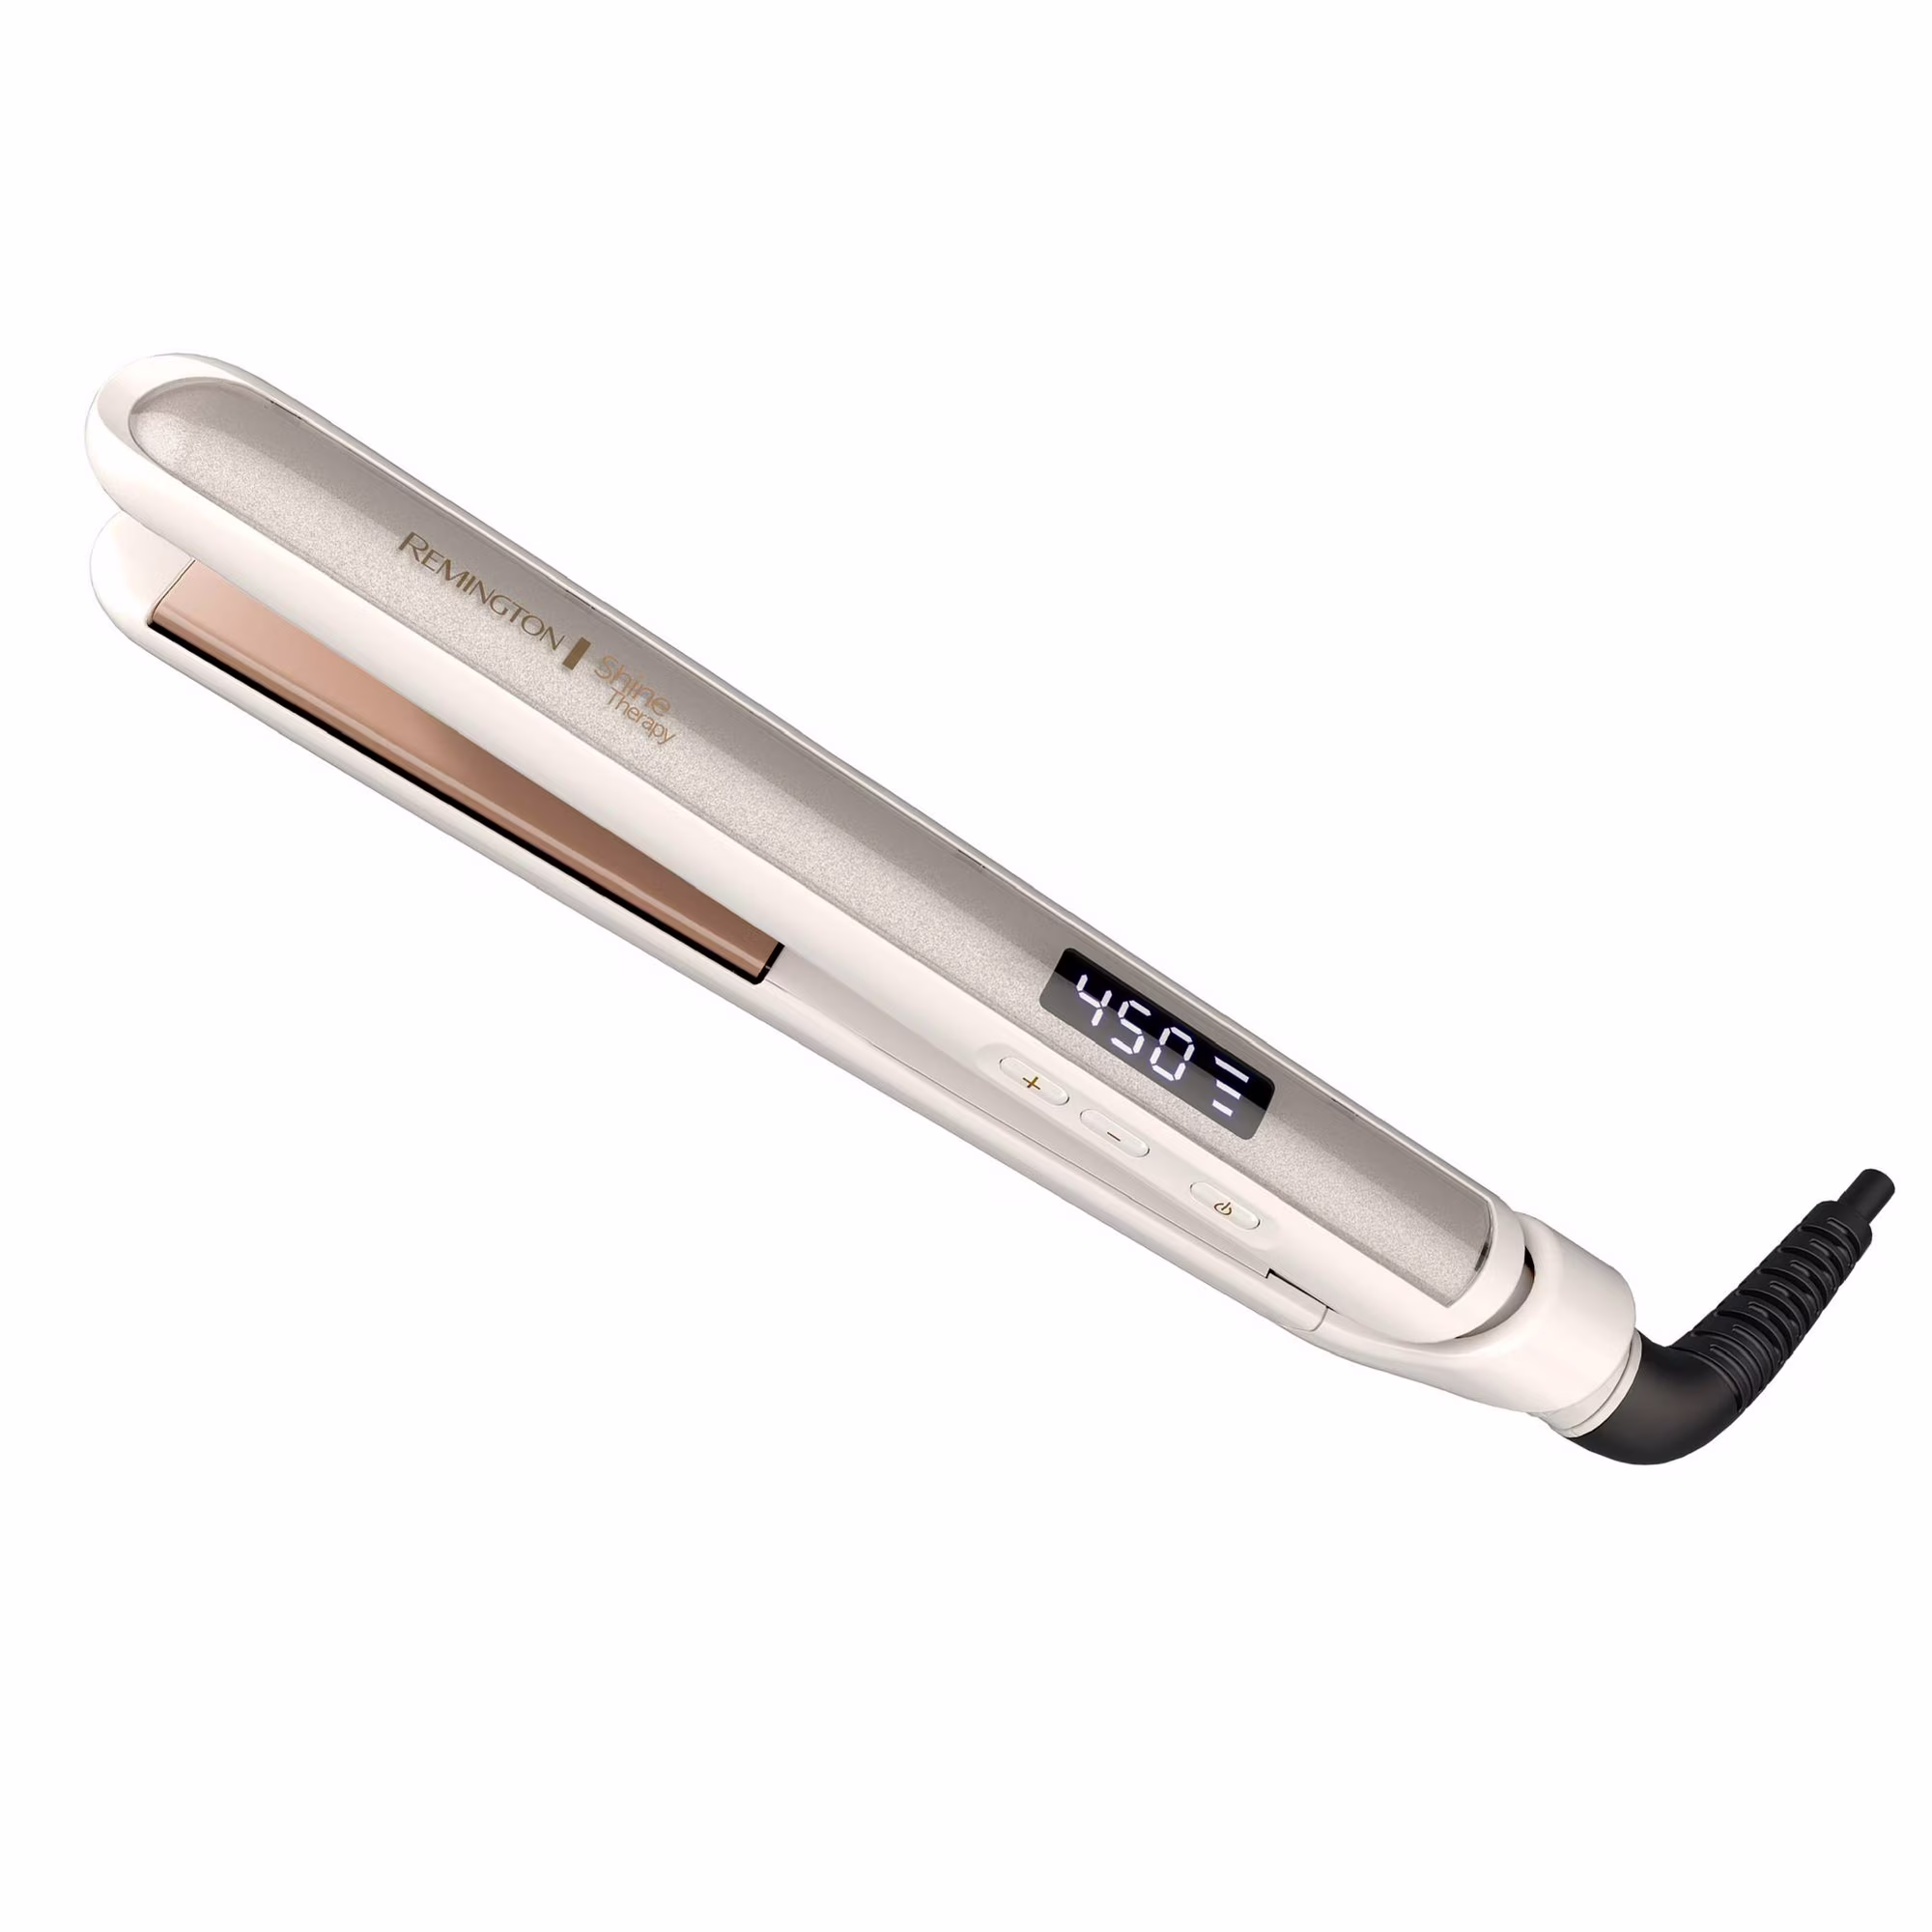
Remington Shine Therapy
Best for: 2A–3B fine to medium hair needing an affordable straightener
Why: Smooth titanium plates glide evenly and gently, delivering sleek results. Ideal for occasional straightening or as a budget-friendly daily tool.
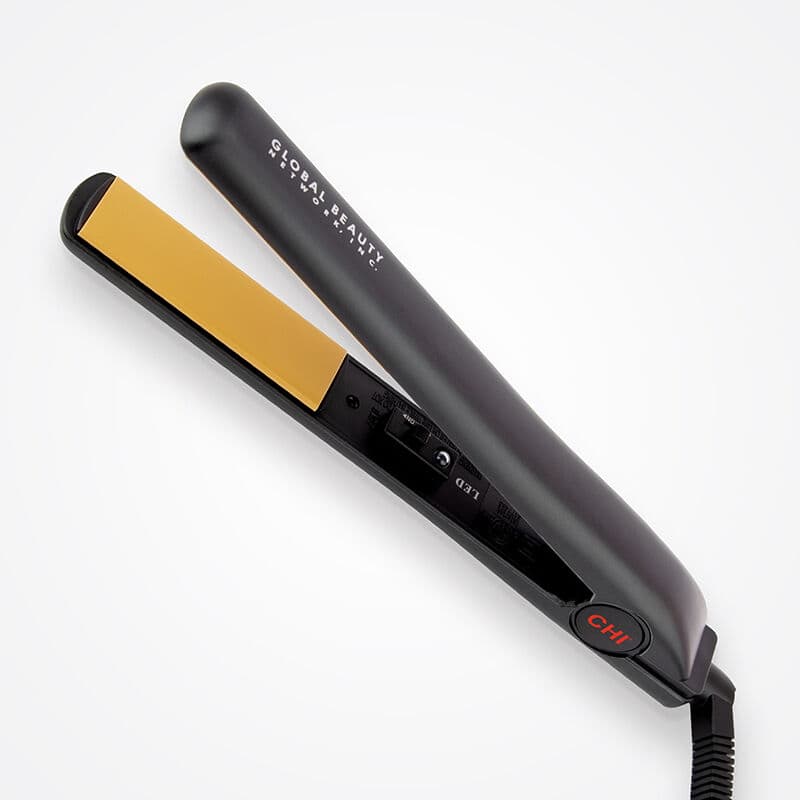
CHI Original Ceramic
Best for: 2C–3C medium-textured hair needing consistent results
Why: Classic ceramic heat straightens without excess passes. Works for most curl types, though coarse strands may need smaller sections.
Salon:
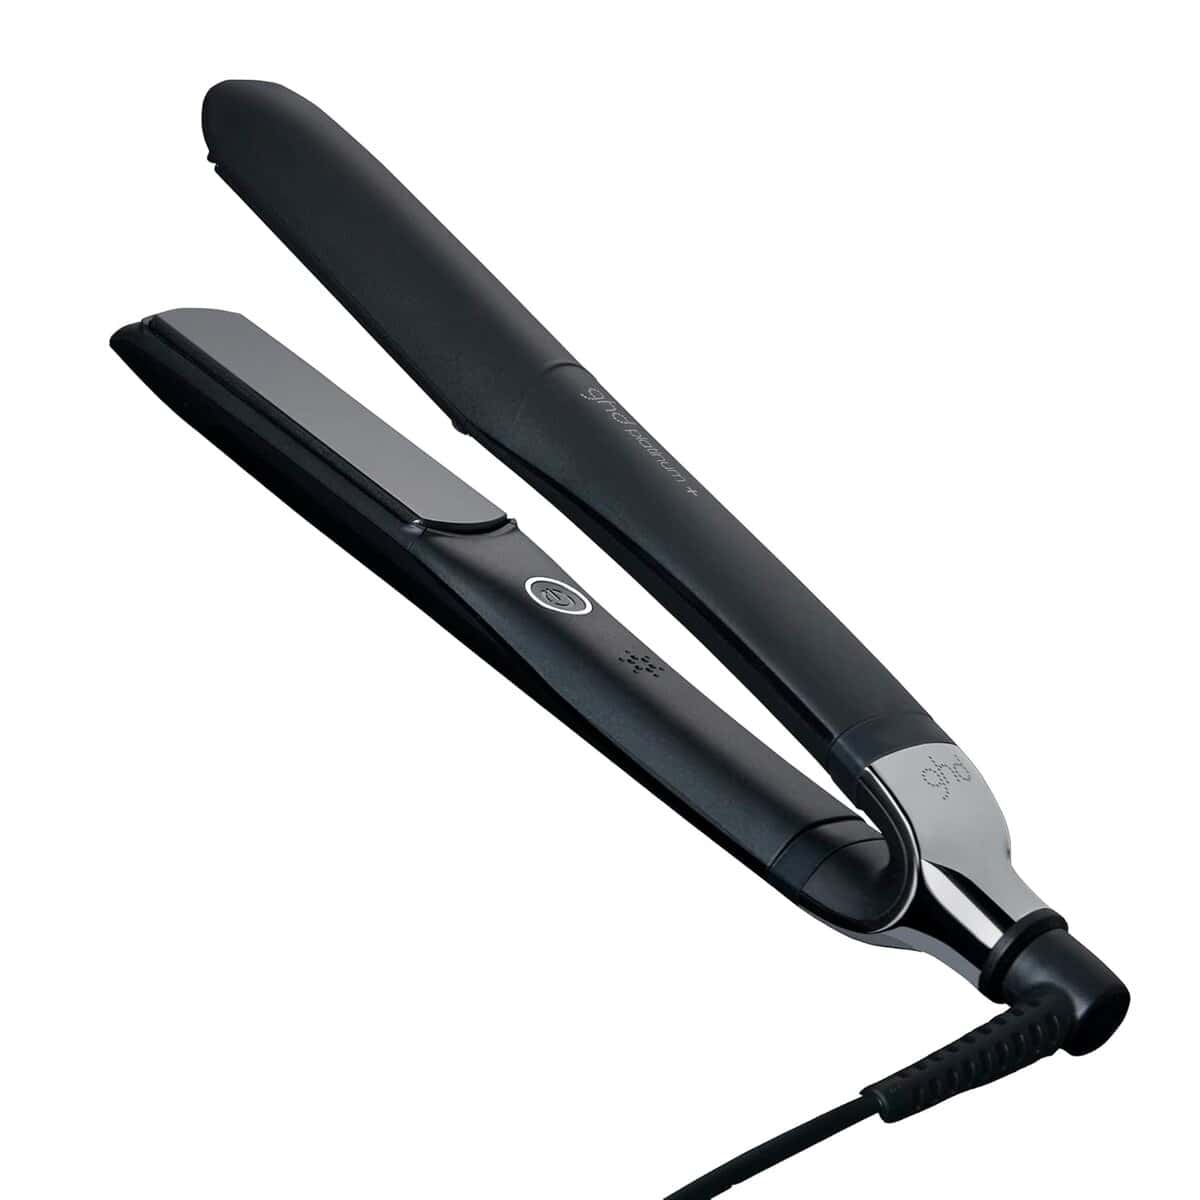
GHD Platinum+
Best for: 2A–4A hair needing controlled, damage-minimizing styling
Why: Smart heat stays below 365°F, reducing permanent curl damage. Great for fine or color-treated hair.
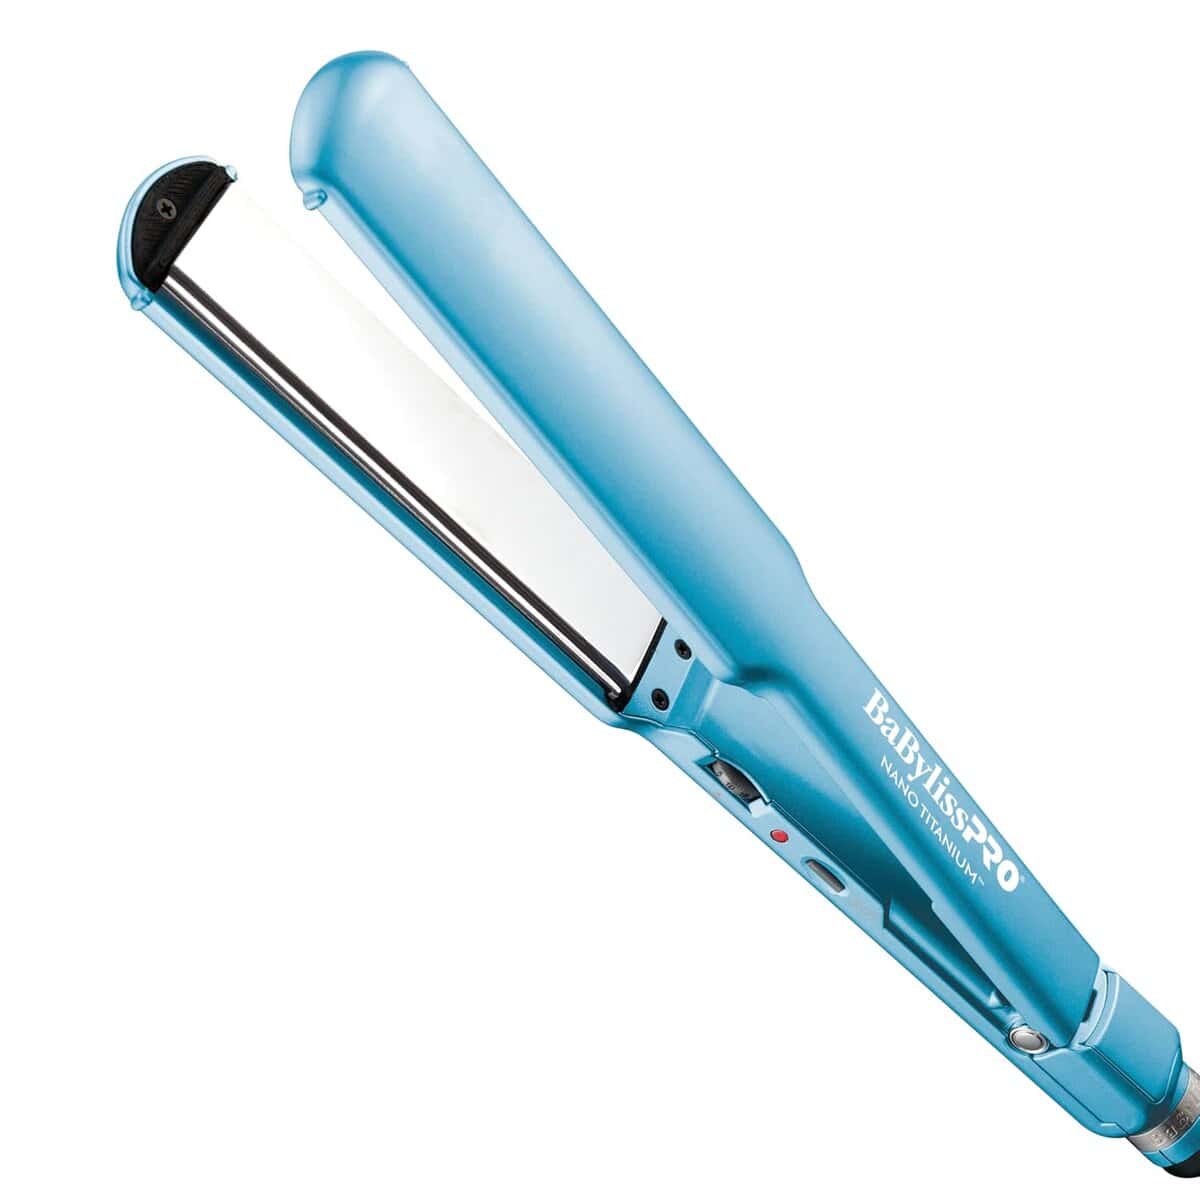
BaBylissPRO Nano Titanium
Best for: 3B–4C coarse, dense, or high-porosity hair needing salon-grade results
Why: Even titanium heat penetrates thick strands for one-pass results. Use lower settings for looser curls.
Best Hooded Dryers
Budget:
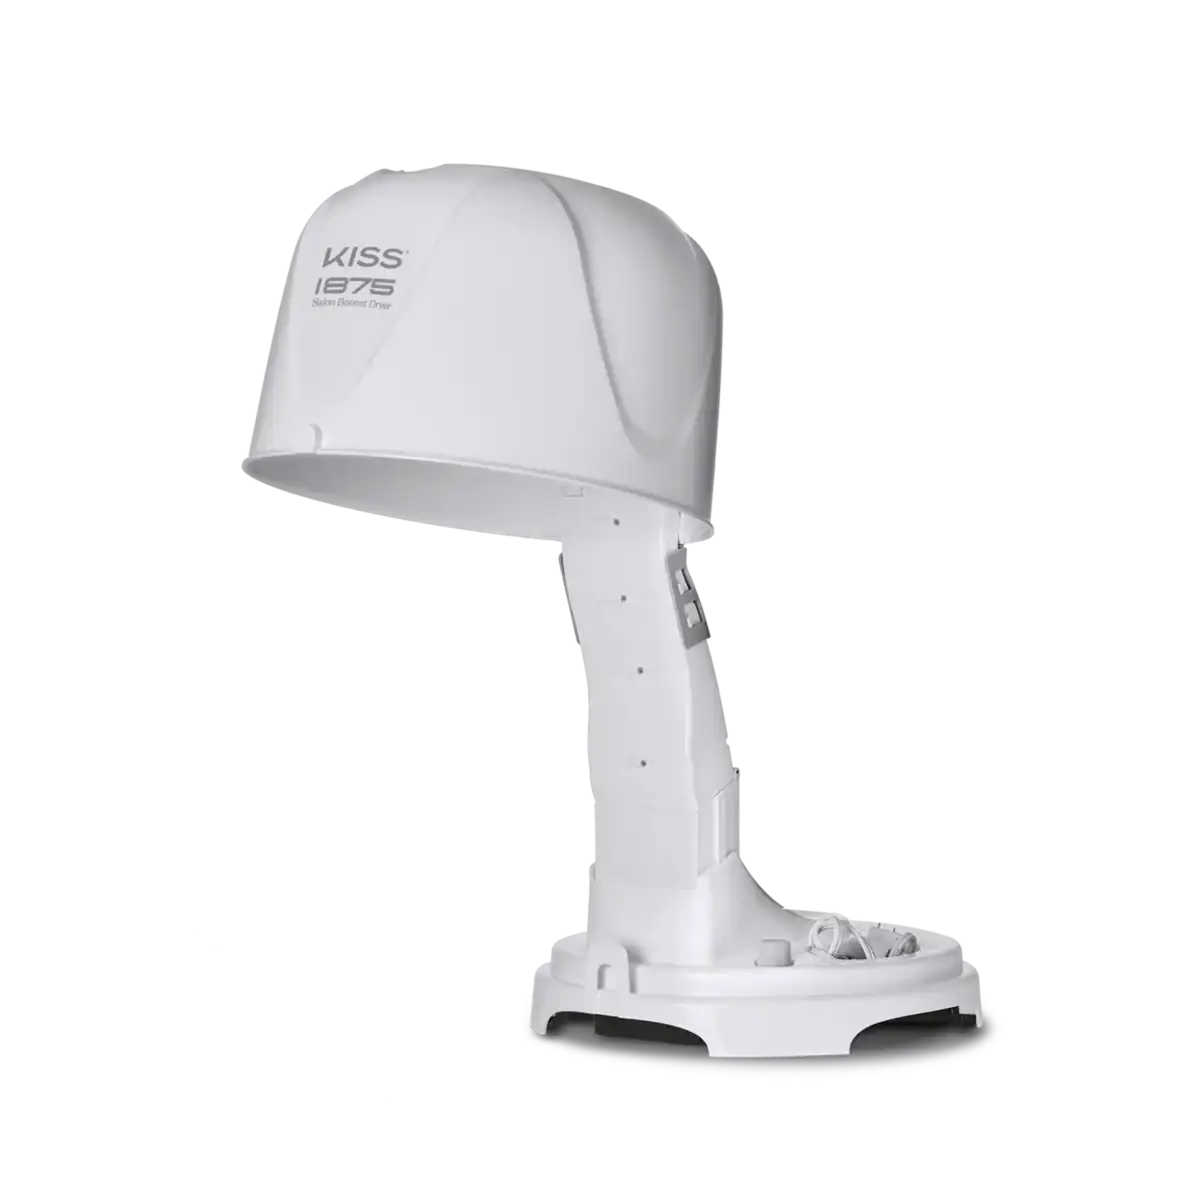
Red by Kiss Ceramic Bonnet
Best for: 2C–4A medium to thick hair that needs regular at-home roller sets or deep treatments.
Why: Adjustable tabletop design with multiple heat settings for better control. Ideal for deep-conditioning sessions, stretching before flat ironing, or weekly treatments.
Salon:
Pibbs 514 Professional Hooded Dryer
Best for: 3A–4C dense or tightly coiled hair that takes longer to dry or needs powerful airflow.
Why: Cuts drying time with even, salon-grade heat and airflow. Delivers stretched, frizz-free results with minimal heat stress.

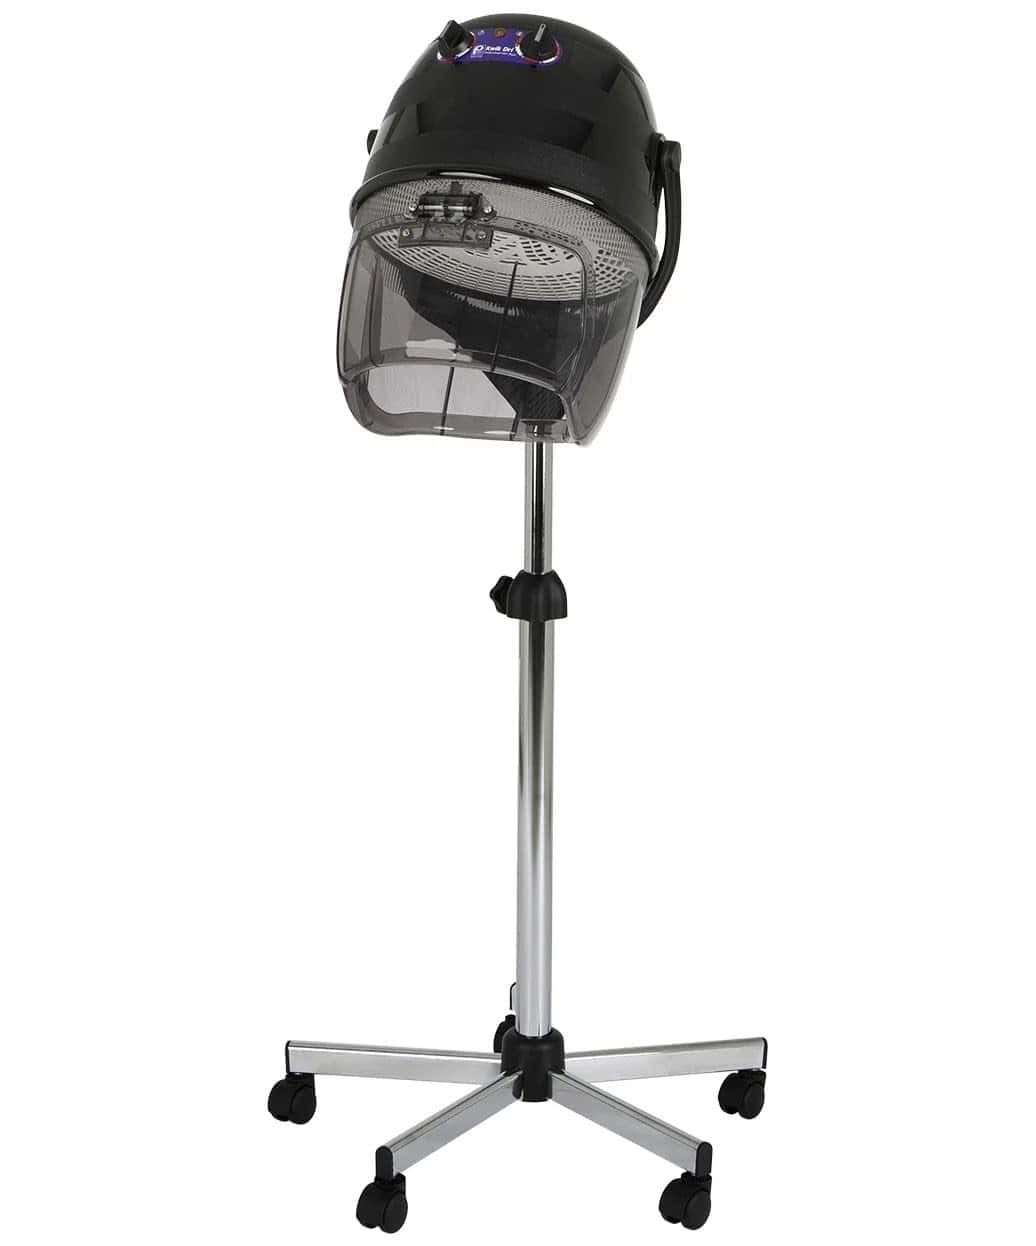
LCL Beauty Professional Hair Dryer
Best for: 2C–4A medium-to-coarse textures that want salon-quality roller sets or deep treatments at home.
Why: Provides even heat and strong airflow without the cost of infrared models. Great for frequent roller sets or deep conditioning sessions needing consistent, gentle heat.
Pro tip: Always prioritize adjustable temperature, even heat distribution, and ionic/ceramic tech.
Post-Heat Recovery Plan (So Curls Bounce Back)
Heat temporarily alters hair’s structure, so recovery is crucial. Follow this three-step plan after straightening:
- Clarify & Detox: Remove buildup and residue so moisture can re-enter.
- Deep Condition: Replenish hydration with aloe, honey, or hyaluronic acid.
- Strengthen: A light protein treatment, applied every 4–6 weeks, helps keep curls resilient and healthy.
Pro tip: Allow at least 3–4 weeks of heat-free recovery between sessions for optimal results.
FAQ: How to Straighten Curly Hair Without Damage While Transitioning
How often is too often?
Every 4–6 weeks. Anything more can weaken bonds and loosen curls.
Can I use heat on high-porosity hair?
Yes, use richer protectants and deep condition before and after.
What’s the best way to fix heat damage?
Alternate moisture and protein treatments weekly. Severe damage may require trimming.
Should I still deep condition if I heat style regularly?
Absolutely. Hydration keeps hair flexible and heat-resistant.
Final Thoughts: You Can Have Both Healthy Curls and Sleek Blowouts
You don’t have to choose between curly and straight; you just need a plan. With the right prep, protection, and recovery, you can enjoy silk presses and blowouts without sacrificing length, curl pattern, or hair health.
- Deep clean and strengthen before heat.
- Protect and smooth during styling.
- Repair and restore after.
And most importantly: treat heat styling like a process, not a quick fix.
Freebie: Download the Heat Styling Survival Guide: a printable cheat sheet to guide you through prep, styling, and recovery every time you use heat.
More Resources:
- Deep Conditioning Guide – Mastering Moisture and Protein Balance.
- Hard Water Hair Care – Protect Your Curls from Hidden Mineral Damage.
- Affordable Curly Hair Products Under $20 – Great budget-friendly picks for every routine.
Ready to Master Heat Styling?
Get the step-by-step plan to prep, protect, and style your curls with confidence — without sacrificing your natural pattern.

2 Comments